Adjusting noise reduction
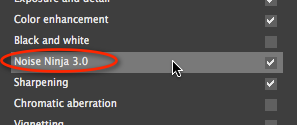
Digital images often have noise in the shadows or when shot at high ISO settings. To suppress this noise, activate the Noise Ninja filter:
Noise filtering is split into two parts:
- Luminance noise reduction targets the brightness component of the image, which contains most of the detail in the image. The eye usually tolerates a certain amount of luminance noise, and images can look "plastic" if the noise is completely eliminated.
- Chroma noise reduction targets the color component of the image. This tends to be more distracting than luminance noise.
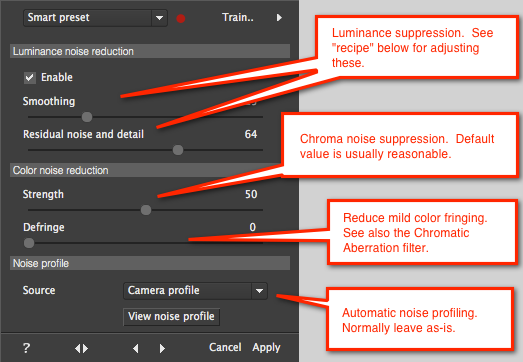
Here is a quick and reliable strategy for adjusting the luminance sliders:
- Set the "Residual noise and detail" slider to zero (all the way to the left)
- Adjust the "Smoothness" slider to the lowest value that does not yield unnacceptable artifacts in smooth areas. You are trying to strike the best balance between noise supression and detail preservation.
- Now increase the "Residual noise and detail" slider to taste. On many images, a value between 50 and 75 is appropriate, though it can depend on the subject matter, camera model, and ISO. In most cases, retaining some luminance noise will result in a more natural appearance.
You can usually leave the chroma Strength slider at the default value, though very high-ISO images with discrete blobs of color noise can require adjustment.
Examples of noise reduction are here.
NOTE: Filtering automatically adapts to the different noise levels in the shadows, midtones, highlights, and in different color channels.
NOTE: You can train the noise reduction filter to automatically set the slider values based on the ISO and camera model. Just make your adjustments, then press the "Train" button. The "Smart Preset" mode will remember these settings, and it will try to identify the ISO and camera model from EXIF metadata in the image. It will interpolate between ISO values in the training data. See the User Guide for more information.