Adjusting exposure
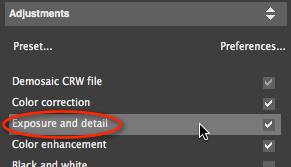
Photo Ninja includes an intelligent exposure facility that not only attempts to match the overall brightness of the in-camera exposure, but optionally can apply highlight compression and illumination to reduce or avoid clipping. Exposure is calculated automatically when you open an image. You can adjust the exposure settings by activating the "Exposure and Detail" filter panel:
The exposure controls are located near the top of the panel:
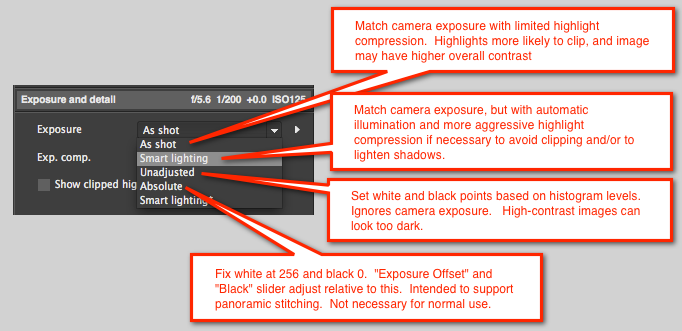
Generally, we recommend setting the Exposure mode to either "As shot" or "Smart lighting". Both attempt to match the in-camera exposure level, so images appear more or less like the preview in the camera's LCD. For low-contrast images, they behave the same. For high-contrast images, the "As shot" mode will tend to let highlights clip, while the "Smart lighting" mode will more aggressively compress highlights and overall global contrast if needed to avoid or reduce clipping. Here is an example showing the difference:

The Absolute mode can be useful if you need consistent exposure across a sequence of images, for instance in a multi-image panorama. The other modes can "drift" based on the content of the image. The Absolute mode locks the white and black points to fixed levels independent of the image content. With Absolute mode, you can adjust your exposure and tone settings as desired for one image, then use the copy-paste facility to paste the settings to other images in the same sequence. For most images (where the dynamic range is not too extereme), you can make your adjustments in another mode and then then convert to Absolute mode by hovering the mouse over the menu popup icon to the right of the exposure selector:

The "Unadjusted mode" is for special cases. It ignores the camera exposure and sets the black and white clipping points based on histogram percentiles, with no highlight compression or illumination adjustment. High-contrast images tend to look too dark in the "Unadjusted" mode.
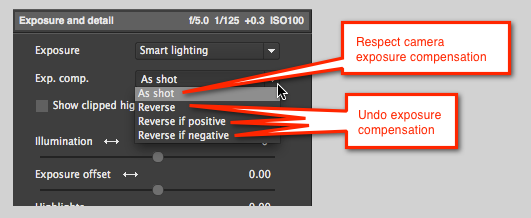
If you use exposure compensation on your camera to make a subject appear the correct brightness, then you can tell Photo Ninja to respect it. Alternatively, if you use exposure compensation to avoid clipping or to reduce shadow noise, then you might want to reverse it so the image has the "correct" exposure:
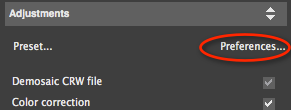
NOTE: You can change the default exposure and exposure compensation policies by clicking on the "Preferences..." button on the top of the editor filter list: